I have created a set of cards for my Ratman army and wanted to share how I did this. First I start with having good photo of each minis I wanted to place on each card. I took photos of each of the Rat boys, using my coffee can photo box. Then I removed the background of the photo using Power Point. This is not required, but I felt it would give me a better looking card. To edit the photo I used Power Point in Office 2016, this can also be done in office 2010, and 2013 but it is done in word.
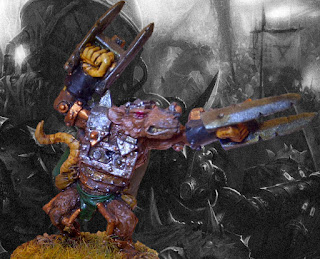
In this photo I have started to remove the back ground, then save the image as .png.

Now with the raw image (mini with no background) I added a new back ground also using Power Point. I had the new back ground open in a slide, then placed the mini over the back ground, grouped the two images and saved it.

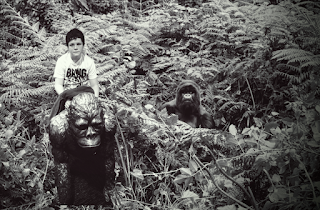
Here is a photo I did in Word 2010, this is just an example.

Now that I have my photos I just needed to start up Magic Set Editor and make the cards.
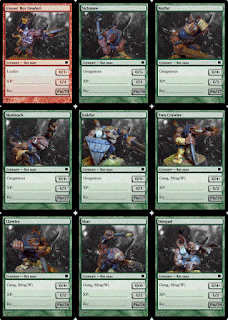
For this I use the Leveler template. I just used the default fields as I wanted, and this can take a bit of messing around. Once I have a card I like I copy it and edit it with the new photo and information.

With the card set complete I just saved it then printed it off to PDF, and to paper. I an not sure if I will user my laminate the cards, or just print on card stock.
And the end result is this PDF file of my cards.

Well I hope this helps you make your own cards.
No comments:
Post a Comment