Both my kids helped in making this, and are having fun using it for math. They love to roll the dice then add up the total. Also we have played a game the higher die wins. Over all a great project, lots of fun with my kids, and my wife was even impressed by it.
*****EDIT*****
OK her is the how to, or rather what I did to create this project.
Item required.
Printed plans.
Printed Stained Glass windows sheet.
Foam core.
PVA glue.
Hot Glue Gun.
Geso.
Decoupage.
Sheets of card stock paper.
Pipe cleaners.
Flock.
Felt.
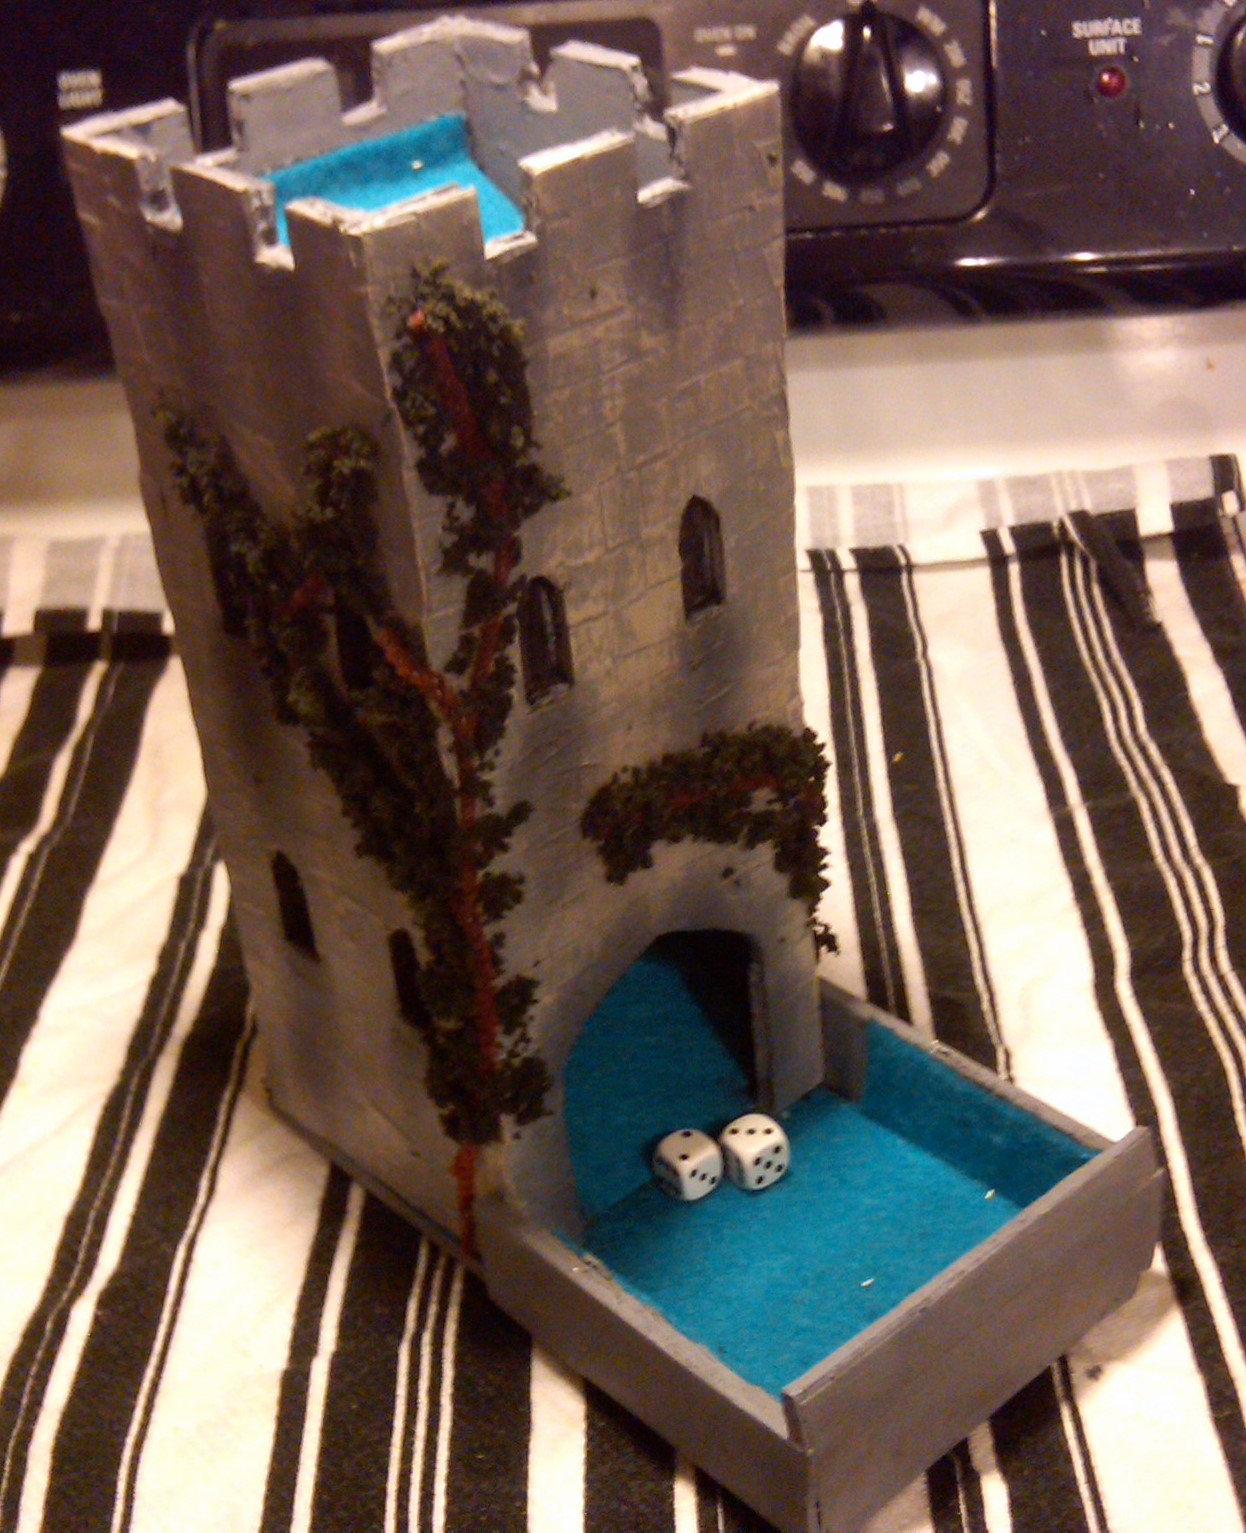
First I laid out the plans on the foam core, then cut out all the sections. Now I had to adjust the slots on the template to allow for the thickness of the form core, as the templates were made for thick card. Once all the sections were cut out, I dry fit the hole model together to make sure it went together well. I now cut out the stained glass windows, and glued them in place. Now here is a good time to place felt on the dice ramps, I did this after the fact so I was not able to get felt on the center ramp. Just cut to fit, and lightly glue with PVA in place. I use a thin film of glue when gluing felt, to not make the felt get crusty feeling. Now I assembled the hole tower, applying PVA glue, on the edges.
With the tower completely assembled I set to making the stone, or brick look. I use the card stock for this, cutting it in to long strips about 1cm wide. The I took the strips and cut them in to smaller blocks at random sizes for .5cm, to 1.5cm. Looking back at my first post you will see the yellow blocking. Then working in rows I started at the bottom, by applying 2 inches of glue with a brush as a base for the blocks. Laying the blocks down in rows I worked from the bottom up. I would over hang every other row, to try and keep the blocks form lining up, and give a more random look. I have to say this took the longest time. When it came to the windows I started to cut the blocks to fit, and this took to long. What I did was just lay the blocks over the windows, then cut the windows out after the glue was dry. This was much faster.
OK, now I had the brick work done, it was time for paint, and I killed t birds with one stone here. I used GESO, with black paint mixed in to prime, and paint it gray. I thinned the GESO down a bit to make sure it got in to the grout lines, so I ended up doing two coats of GESO. Now came the fun part, making it look real. I got the 1 inch dry brush out, and dry brushed on a lighter shade of gray, then a shade with a bit of brown mixed in. Then I did under the windows, and cut outs at the top with a black to dirty it up a bit. You know all the years of throwing chamber pots out of the window dose a job on the looks of a tower. When this was done, I hot glued on the pipe cleaners for the vines. Painting PVA along the vines and sprinkling the flock on.
Its now a complete tower, I have to protect it. I have used Spray Varnish before but on foam core this could be bad. So I opted for Decoupage. This brushed on and dried very well. I also made a thin mixture of it to go over the flock to help it stay on.
You may notice I did not talk about the court yard, or die catch and the bottom. Well I made that from scratch.
Now for the photos.


Noel.


